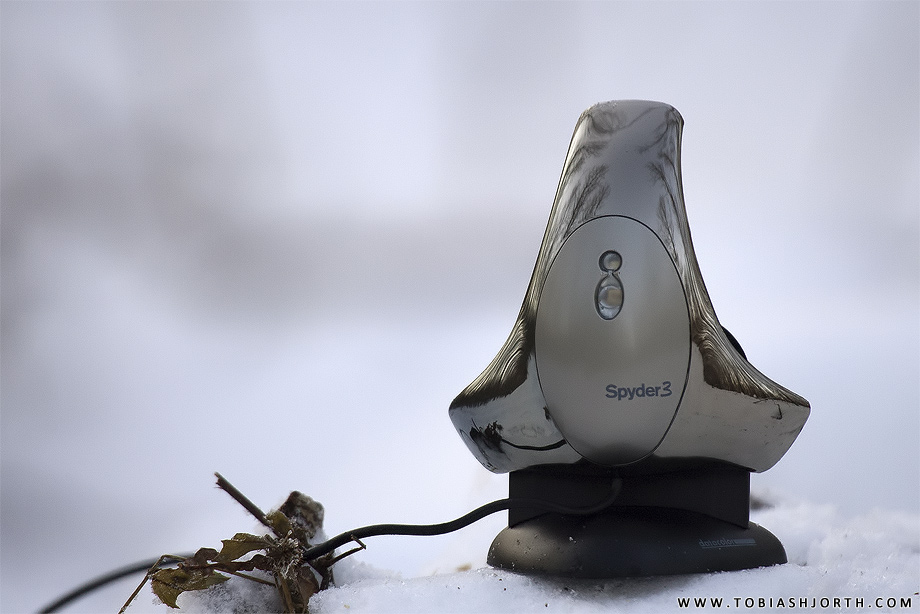
Get your colors right with Datacolor Spyder 3 Elite.
In the early years of digital photography color calibration was an extremely costly affair used only by the highest paid photographers and studios.
Datacolor among others changed that and paved the way for photographers on pretty much every budget to what is today a superb unit with some suiting software.
Datacolor boast three computer display calibrating units with the Spyder 3 Elite as top dog and the most expensive version. All version are hardware wise quite similar and therefore the differences lies within the included software.
The Spyder 3 Express is for the beginner and amateur photographer who wished a quick and easy calibration without getting to much into color temperature, gamma and other words not spoken on daily basis.
The Spyder 3 Pro is for the advanced amateur and most professionals enabling control of the above within predefined values.
The Spyder 3 Elite as I´m reviewing here is aimed for professional photographers and studious with full manual control, multi monitor support, proofing functions and much more. It features so many functions that its close to impossible to include all in this review. I´ll be covering the most basic yet important.
Please note that I´m using the most recent version 4 of the calibration software. As I´m writing this Datacolor upgrades users for free. See if your version is eligible for an upgrade HERE
After the quick and easy install the program asks you to warm up your monitor and check various controls etc. Most users would probably be surprised to read their LCD monitor performs best after some warm up. Datacolor recommends 30 minutes

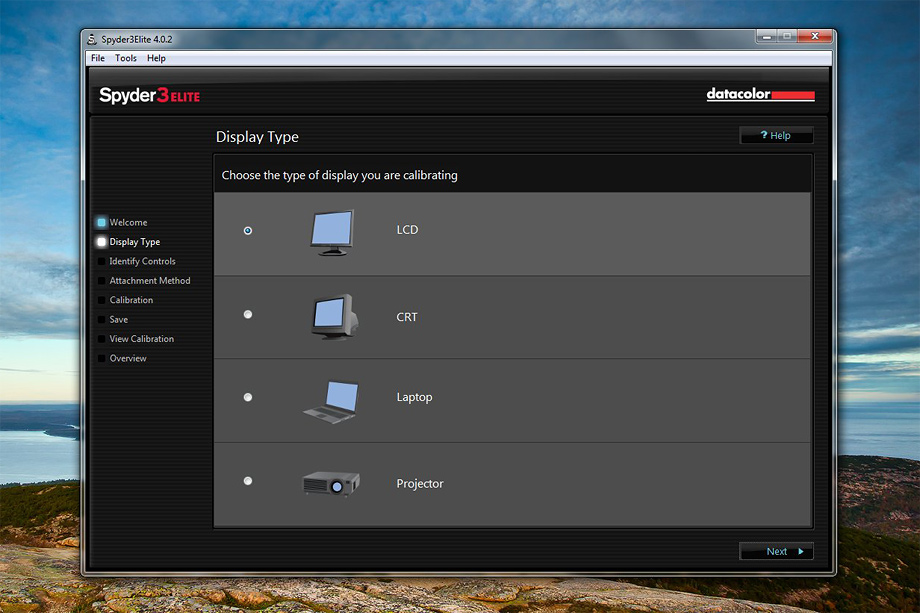
Next up you select what type of monitor you have. Most would select LCD but it´s important to know that the Spyder 3 Elite does indeed calibrate Laptops and Projectors as well
Next you´ll be prompted what controls your monitor has. You would probably select brightness and tune it down as most LCD´s are overly bright from get go. Advanced users with high-end monitor can select Kelvin-presets for more precision and even adjusting the R, G or B channel on the monitor individually.
After the brightness is adjusted to a pleasant level in correspondence with the onscreen guide you choose Gamma, White Point and Brightness. Within the basic mode there´s the predefined selectors with the recommended settings automatically chosen in advance.
As seen above this is basically industry standard settings. Some Mac users will see the Gamma value higher than their usual 1.8.
White Point is the same as you know from the White Balance setting on your camera. 6500K corresponds well with a well lit room on a bright day. Brightness is another very important setting you would choose carefully. Most would aim for the 125 or 120 cd/m2 for a pleasant day to day experience. If you´re making a living selling prints etc. you would most like choose 80 or 90 cd/m2 as it corresponds with a perfect lit print with 125 being too bright. Now selecting this value on a non- high end monitor would results in a somehow dim results with an ugly color cast as the monitor would not be able to maintain color balance on a low cd/m2 setting as 80´ish is. Only the high-end monitor will display a correct result and if you´re living of your photography chances are you already own such a screen.
Selecting the advanced option would probably only be used by Studios where the options to write the exact value you´re aiming at and there´s more options for a perfect calibration. Important if you´re matching a series of workstations.
Lets get ready to rumble. A simple yet important task. The Datacolor Spyder 3 Elite comes with a suction cup used to CRT monitors. LCD users wants to adjust their monitor slightly upwards and let the calibration unit dangle down from the top of the LCD. There´s an adjustable weight device on the cord which makes this maneuver very easy.
If you have selected only the basics its a good time to have a cup of coffee. This above operation takes roughly 10 minutes. If you´re aiming at a certain value and have selected various monitor controls the program will prompt you for adjusting commands that needs attention.
After ended calibration you´ll be able to name your new display profile as selecting a calibration reminder period. Professionals would probably select a time limit of a couple of days where most would not need to calibrate again within the first couple of weeks.
As a nice roundup you get to see the calibrated and uncalibrated view of a number of photos. You´ll be able to select each photo for closer inspection and changes are the differences are vast especially on Consumer / Pro-sumer monitors.
For further proof that the calibration a quite a difference is the Profile Overview screen. The blue is the monitor uncalibrated where the red is the screen calibrated by the Spyder 3 Elite. The result is not far from the AdobeRGB standard showing broader and less blue color space closer much more pleasant for the eyes.
Conclusion
Overall its hard not to be pleased with the Datacolor Spyder 3 Elite and I´ve only covered the basics of the unit that holds so many adjustments and tweaks. – Besides creating a color profile the end result is very obvious. Its hard to go back to an uncalibrated monitor especially if you´re using the monitor for photo editing. Besides recommending the Datacolor Spyder 3 Elite to photographers, people who work with computers on a daily basic gets a much more pleasant user experience more suiting for the eyes. If you´re using a consumer monitor the differences are quite staggering and if you´re using a high-end monitor you´ll be tweaking the very best out of the monitor.
Easily the cheapest monitor upgrade money can buy.






1 Comment
I would like to thank Datacolor and Klaus Bjarner for giving me the opportunity to review this product.